Wednesday, December 21, 2011

White (Enchilada) Christmas

My husband isn't an echilada fan.  This always blows my mind, as enchiladas are the only thing I order at Mexican restaurants.  In fact, I judge all Mexican places by the quality of their plain ol'e cheese enchiladas.  I also love making enchiladas, so I'm always on the lookout for new recipes I think might pass the "Hungry Bear Test."  These are the bomb.com.  No, seriously.  They're so good they make you say silly things like "Hey, these enchiladas are the bomb-dot-com" and everyone else who's eating them doesn't even make fun of you.  Okay, maybe a little.  But, who cares?!  They're good enough to take a little verbal abuse for.  What they aren't, however, is diet food. 
Oh, Christmas Break - how do I love thee?  Let me count the calories...
First things first - you need chicken.  You can buy it already cooked, boil it and shred it, whatever you want.  I happen to like using my handy-dandy grill pan.  I covered them in taco seasoning so they would be chock full of flavor, and then shredded them up.  You need about 2 cups of shredded chicken.

Some of the other stuff you'll need. 
3 tablespoons butter
3 tablespoons flour
2 cups shredded monterey jack cheese
2 cups chicken broth
can of salsa verde (or green chiles)
1 cup sour cream

Oh, and these.  La Banderita is my favorite brand.  And look how festive they are!

Once your chicken is cooked & shredded, mix with 1 cup cheese and a few tablespoons of the salsa verde or chiles.  Scoop some of this delicious filling into the center of each tortilla and roll, placing them seam-side down in a casserole dish.  The recipe I based this on said it made 10 enchiladas, but I only made 8.  Otherwise, they would have been skimpy.  We don't like skimpy 'round here. 

Okay, now its time for a little "real" cooking.  If you don't know how to already make a roux (pronounced "rue") then pay attention.  This is one of those culinary things you need to know.  A roux is equal parts butter and flour, in this case 3 tablespoons, that are cooked together and used mostly as a base for sauces.  Think macaroni and cheese, alfredo -- its a useful little trick.  So, whisk the two together over medium-high heat for about 1 minute.  You just want them to come together and cook that raw flour taste out. 
Then add the cup of sour cream, 2 cups chicken broth, and the rest of the salsa verde.  Voila!  The best flippin' enchilada sauce in the world!
Pour the creamy deliciousness over your enchiladas.  Note:  This seems like waaay too much sauce, but trust me - add it all.  It thickens up and kinda gets absorbed by the enchiladas.  So good.

Cover with the other cup of monterey jack, giggle with excited anticipation of the enchilada goodness that is to come, then stick in a 350-degree oven for about 25 minutes.  Then, let them sit under the broiler for about 3-4 minutes, until they get all golden brown.
The finished product.  These are good.  REAL good.  I didn't even get a plated picture because the husband and I couldn't  not eat them long enough.  We're pigs.

Thursday, December 15, 2011

Post-Nutcracker Munchies

Hello, all (and by all, I mean the one or two people who are possibly reading this)!  Its been awhile since my last blog, but it was Nutcracker season.  Let me explain - when you work for a ballet studio that puts a full-scale performance of the Nutcracker on stage every year around Christmas, that one performance owns you for the entire semester beforehand.  Production week is especially crazy, requiring all able-bodied employees/volunteers/parents to sacrifice all of their time, energy, and money to the ballet gods.  Hence, no blogging for me.  Heck, no cooking for me.  Until now!  I am officially on Christmas break, meaning I don't have anything to do but cook, eat, and snuggle with my baby.  Be prepared for mucho blog-arino!

To start things off, I wanted to make something easy, comforting, and covered in cheese.  I found this recipe on Pinterest (the most amazing site ever created, in my humble opinion) and decided to give it a whirl, seeing how many re-pins, likes, and what-have-you it recieved.  I adapted the recipe a smidge to suit the tastes of the hungry bear, er, my husband.  You should do the same!  I hardly ever use recipes as exact directions.  As Captain Barbosa once said, "they're more like guidelines, really."  This dish is originally called "Cowboy Casserole", however we aren't cowpeople and the hubby doesn't like the word "casserole," so I decided to call it "Beef Tot Pie".  Like pot pie... get it?  My cleverness astounds me at times.

Start with olive oil, onions, bell peppers, and mushrooms over medium heat.  About one medium onion & one smallish pepper.  I only use a handful of mushrooms and mince them very finely.  I enjoy the earthy flavor mushrooms give a dish, but abhor the texture.  Its like eating little sponges.  Oh, and salt & pepper the veggies.  Remember: season every layer.  Salt & pepper are the most under-utilized seasonings in your house, and they usually can make the difference between good and bad food.

Now to the other stuff -- this is what you'll need.  That's the 2.25 lb package of ground beef, but I only used half of it.  So, I guess you could say I used a pound and a smidge.  Whatever -- it really doesn't matter!  As long as your in or around a pound, you're fine. Note: I think a half beef, half sausage blend would be delicious in this recipe.  Just a thought.

Once the veggies have had a chance to sweat it out a bit, throw in your meat & brown away.  When browned, transfer to a mixing bowl & set aside.


Layer about half the bag (30-32 oz bag) of tots in the bottom of a greased pan.  I used a 2 quart Pyrex but, again, whatever you want.

To the beef and veggies, add a mixture of one can of mushroom soup, 4 tablespoons of sour cream, and 1/2 cup milk.  This is what makes it creamy deliciousness.

Then add one 14 oz (drained) can of corn, and about 1 cup of cheddar cheese.  I also added a pinch or two of cayenne at this point, fearing a lack of "punch".

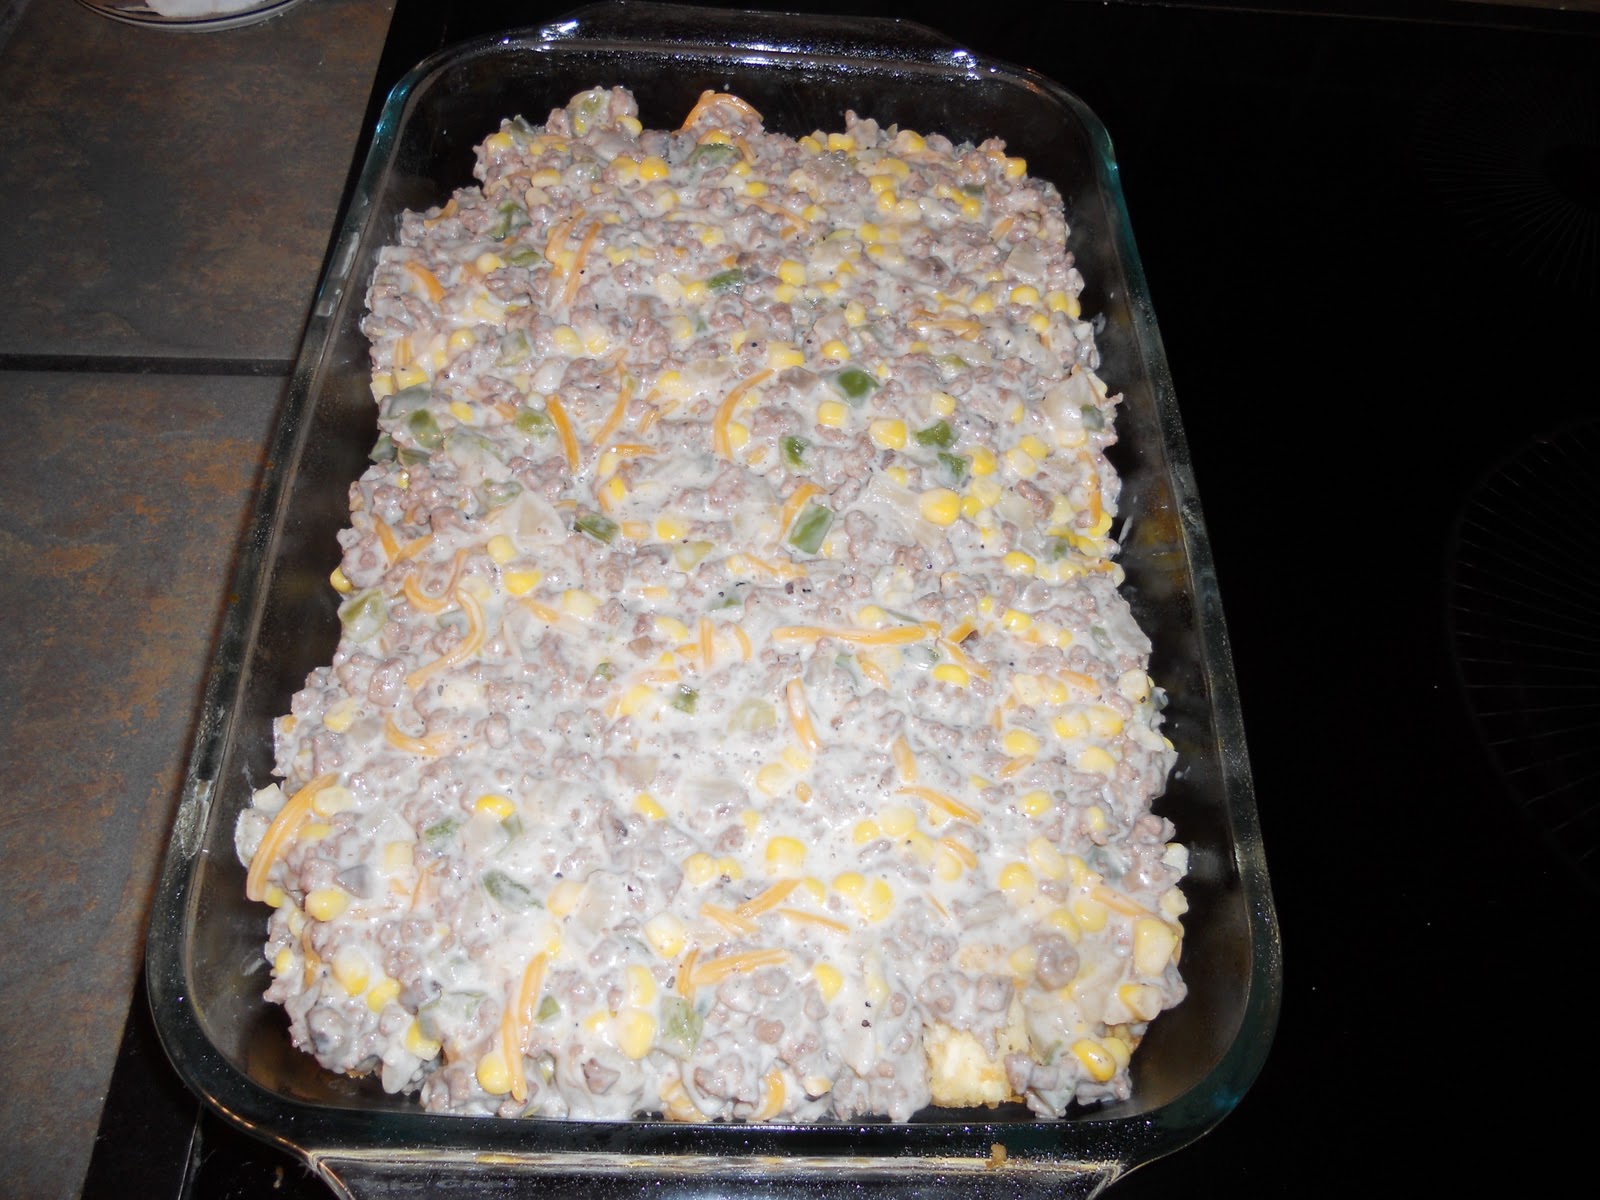
Spread the  beefy, creamy, cheesy stuff over the layer of tots.  It looks like gray dog food, but trust me - it'll all turn out.

One more layer of tots and another cup of cheese, and you're ready to hit a 350-degree oven for about 30 minutes, or until it has reached the melty-ness you desire.

All finished!  This is pure comfort food -- carbs, meat, cheese.  I liked that the bottom layer of tots get kinda mushy from absorbing the soup mix, while the ones on top get crsipy.  I think next time I will use Ore-Ida tots, as the Great Value ones were a tad bland.  A very minute difference, but one I think might help.  You could use any kind of meat/cheese/potato combo for this.  I love recipes like that.  Oh, and the hungry bear approved of this dish, although he's started to complain that he'll gain 10 pounds over Christmas.  That's what the holidays are for, though - right?  Eat, drink, and be merry ... and fat.